
How to Set Up a Local Development Environment
Setting up a proper local development environment is the foundation for productive coding. This guide walks you through everything from installing essential tools to configuring your IDE for maximum efficiency.
- Terminal/Command Line
- Code Editor (VS Code recommended)
- Git
- Node.js
- Docker(optional)
- Install and configure essential development tools
- Set up version control with Git
- Configure your code editor for productivity
- Create a consistent development workflow
- Best practices for environment management
Install a Package Manager
Start by installing a package manager for your operating system. On macOS, install Homebrew by opening Terminal and running the installation script from brew.sh. On Windows, install Chocolatey or use winget. On Linux, you likely already have apt, dnf, or pacman.
Package managers make installing and updating software much easier. Always use them instead of manual downloads when possible.
Install Git for Version Control
Git is essential for version control and collaboration. Install it using your package manager (brew install git on macOS, choco install git on Windows). After installation, configure your identity with git config --global user.name and git config --global user.email.
Set up SSH keys for GitHub/GitLab to avoid entering passwords for every push. Check the platform's documentation for step-by-step instructions.
Choose and Install a Code Editor
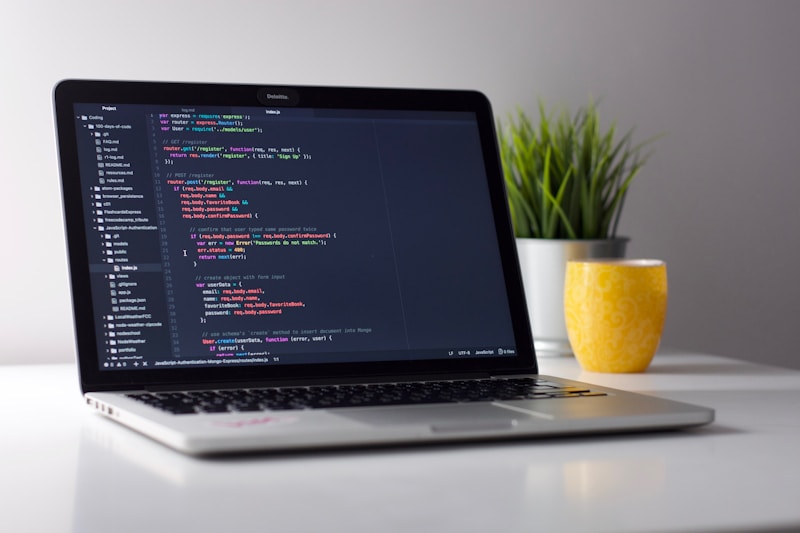
Visual Studio Code is the most popular choice for web development, but alternatives like WebStorm, Sublime Text, or Neovim work great too. Download VS Code from code.visualstudio.com or install via your package manager.
Install Essential VS Code Extensions
Enhance your editor with these must-have extensions: ESLint for code linting, Prettier for code formatting, GitLens for Git integration, Auto Rename Tag for HTML/JSX, and a theme like One Dark Pro or GitHub Theme.
Don't install too many extensions at once. Start with the essentials and add more as you discover needs.
Install Node.js and npm
Node.js is required for most JavaScript/TypeScript development. Instead of installing directly, use a version manager like nvm (Node Version Manager) which lets you switch between Node versions easily. Install nvm first, then use nvm install --lts for the latest stable version.
Set Up Your Terminal
A good terminal setup improves your daily workflow significantly. On macOS, consider iTerm2 with Oh My Zsh. On Windows, use Windows Terminal with PowerShell or WSL2. Configure aliases for common commands and add syntax highlighting.

Configure Git Aliases and Settings
Speed up your Git workflow with aliases. Add shortcuts for common commands: git config --global alias.co checkout, git config --global alias.br branch, git config --global alias.st status. Also set your default branch name and configure pull behavior.
Create a .gitignore_global file for files you never want to commit (like .DS_Store, node_modules, .env).
Install Docker (Optional but Recommended)
Docker helps create consistent development environments and run services locally. Download Docker Desktop from docker.com. Once installed, you can easily spin up databases, caches, and other services without installing them directly on your machine.
Congratulations! You now have a professional development environment ready for any project. Remember, this setup will evolve over time—don't be afraid to experiment with new tools and configurations that fit your workflow.